


Maintaining the performance and safety of your vehicle’s braking system is crucial for ensuring a smooth and safe driving experience. Among the various components of a vehicle’s brake system, drum brakes require specific attention and expertise during service. Properly cleaning and adjusting drum brakes not only enhances their efficiency but also extends their lifespan, preventing costly repairs down the line.
In this guide, we will explore effective techniques for cleaning and adjusting drum brakes. Understanding the importance of regular maintenance and the steps involved in this process will empower vehicle owners and mechanics alike. You will learn how to identify common issues, apply cleaning solutions effectively, and ensure precise brake adjustments to optimize performance.
Equipping yourself with the right knowledge and techniques for drum brake service will enhance your ability to maintain vehicle safety. This comprehensive guide aims to walk you through the necessary steps to keep your drum brakes in top condition, allowing for improved stopping power, better control, and increased driver confidence.
Step-by-Step Drum Brake Cleaning Process
Cleaning drum brakes is essential to ensure optimal performance and longevity. Follow these steps to properly clean your drum brakes.
Step 1: Gather Necessary Tools – Collect all tools and supplies needed for the service. You will need a brake cleaner, a brush with stiff bristles, rags, gloves, and safety goggles.
Step 2: Prepare the Vehicle – Park the vehicle on a flat surface and engage the parking brake. Ensure the wheels you will be servicing are raised using jack stands for safety.
Step 3: Remove the Wheel – Using a lug wrench, loosen and remove the lug nuts. Carefully take off the wheel to expose the drum brake assembly.
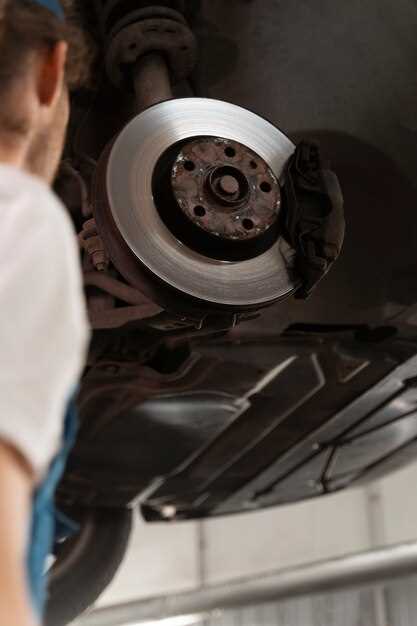
Step 4: Inspect the Brake Drum – Before cleaning, inspect the brake drum for any signs of wear or damage. Look for cracks, grooves, or uneven surfaces that may require further attention.
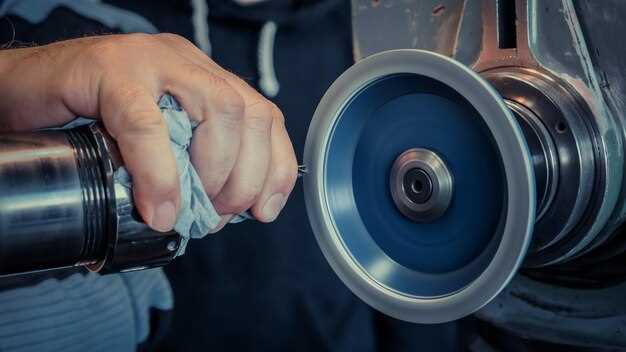
Step 5: Clean the Brake Drum – Spray brake cleaner onto the drum surface, ensuring it covers all areas. Use a stiff-bristled brush to scrub away dust, debris, and any residues. Wipe with a rag to remove excess cleaner.
Step 6: Clean Brake Shoes – Carefully inspect the brake shoes for wear and contaminants. If necessary, apply brake cleaner to the shoes and gently wipe them down to remove any built-up grime.
Step 7: Inspect Spring Components – Check the spring components and hardware for corrosion or damage. Clean these parts with a brush, ensuring they operate smoothly.
Step 8: Reassemble the Brake Assembly – Once cleaned and inspected, carefully reassemble the brake components. Ensure all parts, including springs and retainers, are securely positioned.
Step 9: Reinstall the Wheel – Place the wheel back onto the hub and hand-tighten the lug nuts. Lower the vehicle back to the ground and fully tighten the lug nuts in a crisscross pattern.
Step 10: Perform a Final Check – Before driving, double-check the brake assembly to ensure everything is properly secured. Test the brakes at low speeds in a safe area to confirm functionality.
How to Properly Adjust Drum Brakes for Optimal Performance
Adjusting drum brakes is essential for ensuring their optimal performance and longevity. Proper adjustment not only enhances braking efficiency but also increases safety while driving. Follow these steps to correctly adjust your drum brakes.
First, start by gathering the necessary tools for the service, including a brake adjustment tool, a socket set, and a jack. Ensure the vehicle is parked on a flat surface and engage the parking brake for safety. Loosen the lug nuts on the rear wheels before lifting the vehicle with the jack and securing it with jack stands.
Once the wheels are off, remove the drum brake assembly by unscrewing the retaining screws or using a puller if necessary. Inspect the brake shoes and drum for wear and replace any components that show significant damage. Clean the drum assembly with brake cleaner to remove any dust or debris that might hinder performance.
Proceed to adjust the brake shoes by locating the star wheel adjuster. Rotate the star wheel using the adjustment tool until the shoes make slight contact with the drum. It is crucial to achieve a balance where the shoes do not drag on the drum yet still engage effectively when brakes are applied. Performing this adjustment with the drum installed will help ensure you achieve the correct clearance.
After adjustments are made, spin the drum by hand. There should be a slight drag, indicating that the shoes are positioned correctly. Repeat the adjustment process for the opposite wheel to ensure uniformity across both sides. Properly adjusted drum brakes should provide consistent stopping power and minimize the risk of brake fade.
Finally, reassemble the drum brake unit, reinstall the wheels, and torque the lug nuts to the manufacturer’s specification. Lower the vehicle and perform a test drive to ensure that the brakes are functioning smoothly. If there are any unusual noises or performance issues, recheck the adjustment and inspect the entire system for any potential problems.
Common Mistakes to Avoid During Brake Service
When performing service on drum brakes, it is essential to be aware of common mistakes that can compromise safety and performance. One of the most frequent errors is neglecting to thoroughly clean the drum and brake components. Dirt and debris can hinder effective braking, leading to premature wear or even brake failure. Always ensure that all surfaces are properly cleaned before reassembly.
Another critical mistake is incorrectly adjusting the brake shoes. Failing to set the correct gap between the shoes and the drum can result in decreased braking efficiency and excessive noise. It is vital to follow the manufacturer’s specifications for proper adjustment to maintain optimal brake function.
Many technicians overlook the importance of inspecting the drum for signs of wear or damage. Warped or cracked drums can significantly affect brake performance. Always inspect the drum carefully and replace it if necessary to ensure safe operation.
Additionally, reusing old hardware such as springs and adjusters is a common pitfall. Worn or damaged components can lead to malfunctions in the braking system. It is prudent to replace these parts with new ones during service to uphold the integrity of the drum brake system.
Lastly, forgetting to test the brakes after service is a significant oversight. Always perform a road test to confirm that the brakes are functioning correctly. This final step is crucial in ensuring that the vehicle operates safely on the road.


