


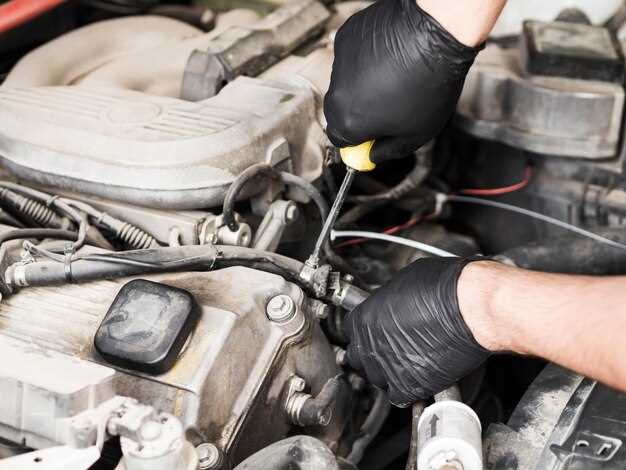
Fuel injectors play a critical role in your vehicle’s performance and efficiency. These components are responsible for delivering the precise amount of fuel to the engine, ensuring optimal combustion and power generation. Over time, fuel injectors can become clogged or damaged due to various factors, including the quality of fuel used, the presence of contaminants, and general wear and tear. Cleaning and rebuilding fuel injectors can be an effective way to restore their functionality and improve your engine’s overall performance.
In this guide, we will explore the essential steps for cleaning and rebuilding fuel injectors. Proper maintenance not only enhances the life span of these components but also contributes to better fuel economy and reduced emissions. Whether you are a seasoned mechanic or a car enthusiast, understanding the intricacies of fuel injector maintenance is crucial for keeping your vehicle running smoothly.
This comprehensive guide will provide you with the necessary tools and techniques to effectively clean and rebuild your fuel injectors. From identifying common symptoms of injector issues to detailed instructions on disassembly and reassembly, you’ll gain valuable insights that can save you time and money on repairs. Let’s dive into the world of fuel injectors and learn how to keep them in optimal condition.
Tools and Supplies Needed for Fuel Injector Cleaning
Cleaning fuel injectors is a crucial maintenance task that ensures optimal engine performance. To effectively clean fuel injectors, you will need a selection of specialized tools and supplies. First and foremost, a fuel injector cleaning kit is essential. This kit typically includes a cleaning solvent, fuel injector adapters, and a pressure regulator. The solvent is designed to dissolve deposits, while the adapters facilitate connections to various injector types.
Additionally, a high-quality air compressor can be invaluable. It allows you to blow out any remaining cleaning solution and debris from the injectors after the cleaning process. A multimeter is also recommended for testing the electrical connections of the injectors to ensure they are functioning correctly after cleaning.
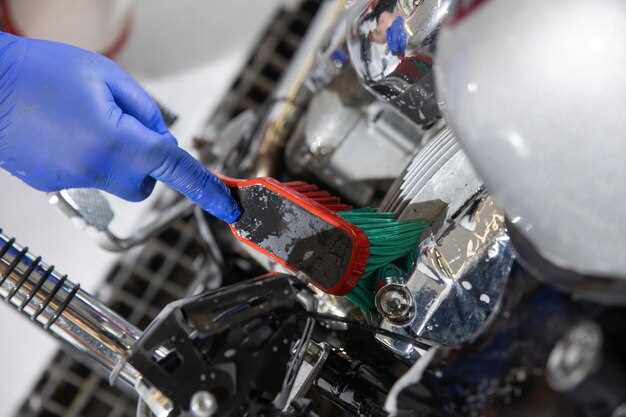
Safety gear should not be overlooked. Protective gloves and safety goggles are necessary to protect your skin and eyes from the cleaning solvents and fuel. An appropriate work surface, such as a clean bench or garage floor, will help in organizing tools and injectors during the cleaning process.
For a more thorough cleaning, consider having a fuel injector flow test tool on hand. This device measures the injector’s flow rate and helps identify any performance issues. Lastly, a selection of standard hand tools, including wrenches and screwdrivers, will be needed to remove the injectors from the engine and re-install them after cleaning.
Step-by-Step Process for Cleaning Fuel Injectors
Cleaning fuel injectors is essential for maintaining engine performance and efficiency. Here is a detailed step-by-step guide to effectively clean injectors.
Step 1: Gather Your Tools
Before you begin, make sure you have all the necessary tools. You will need a fuel injector cleaning kit, a suitable solvent or cleaning solution, safety goggles, gloves, and a wrench set for disassembling the fuel rail.
Step 2: Relieve Fuel System Pressure
To avoid fuel spray and ensure safety, first relieve the fuel system pressure. Locate the fuel pump fuse in the vehicle’s fuse box, start the engine, and then remove the fuse to stall the engine. This process eliminates pressure in the system.
Step 3: Remove the Fuel Injectors
Once the pressure is relieved, locate the fuel rail and carefully remove it along with the injectors. Use a wrench to detach any bolts and gently pull the injectors out, ensuring you do not damage any surrounding components.
Step 4: Clean the Injectors Externally
Before internal cleaning, clean the exterior of each injector using a cloth and an appropriate solvent. This step helps remove dirt and debris that may interfere with the cleaning process.
Step 5: Attach Injectors to the Cleaning Kit
Connect the injectors to the fuel injector cleaning kit as per the manufacturer’s instructions. Ensure proper connections to avoid leaks during the cleaning process.
Step 6: Apply Cleaning Solution
Fill the cleaning kit’s reservoir with a designated fuel injector cleaning solution. Start the cleaning process, allowing the solution to flow through the injectors at the recommended pressure and duration. This step will help dissolve carbon deposits and other contaminants.
Step 7: Test Injectors
After cleaning, test the injectors for proper spray pattern and flow rate using an injector testing machine or the cleaning kit’s built-in tester. Observe for any irregularities or leaks.
Step 8: Reinstall the Injectors
Once cleaned and tested, reinstall the injectors back into the fuel rail. Ensure all O-rings are in good condition and properly seated to prevent leaks.
Step 9: Reconnect the Fuel System
After securing the injectors, reconnect the fuel rail and any additional components you may have removed. Replace the fuel pump fuse and prime the fuel system by turning the ignition on for a few seconds before starting the engine.
Step 10: Monitor Engine Performance
Start the engine and monitor its performance. Check for smooth operation and inspect for any leaks. A successful cleaning will improve fuel efficiency and engine responsiveness.
Rebuilding Fuel Injectors: Key Points to Consider
When considering the rebuilding of fuel injectors, there are several key factors to keep in mind to ensure optimal performance and longevity. Proper cleaning is essential, as contaminants and deposits can significantly affect injector functionality.
1. Disassembly and Inspection: Start by carefully disassembling the injector. Inspect each component for wear or damage, which may require replacement. Look for cracks, corrosion, or any obstruction that could impede fuel flow.
2. Cleaning Process: Use specialized cleaning solutions to thoroughly clean the injector components. Ultrasonic cleaning is often recommended as it effectively removes carbon buildup and deposits without damaging delicate parts.
3. Replacement Parts: During the rebuilding process, assess whether components like O-rings, filters, and nozzles need replacement. Using high-quality replacement parts is crucial to restore the injector’s functionality and reliability.
4. Flow Testing: After rebuilding, conduct a flow test to ensure each injector delivers fuel at the correct rate and pattern. This step is vital for verifying that the injector operates as intended under various conditions.
5. Reassembly and Sealing: Carefully reassemble the injector, ensuring all parts are correctly aligned and sealed. Pay special attention to the torque specifications when tightening components to avoid leaks.
6. Calibration: Some injectors may require recalibration after rebuilding. This process helps to ensure that the fuel delivery matches the specifications required by the engine, optimizing performance and efficiency.
Addressing these key points during the rebuilding of fuel injectors can significantly enhance engine performance and reduce the likelihood of future issues. Regular maintenance and cleaning practices are essential for sustaining the effectiveness of injectors over time.


