


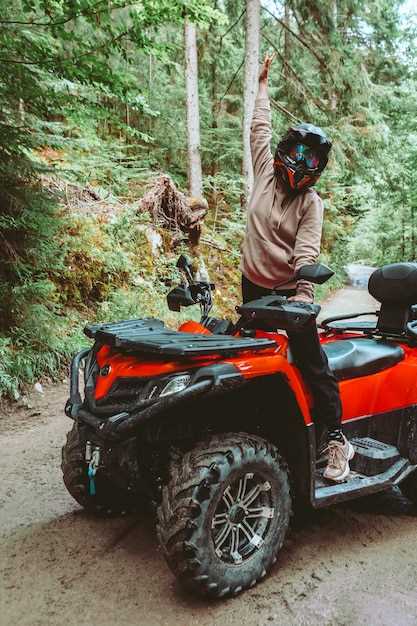
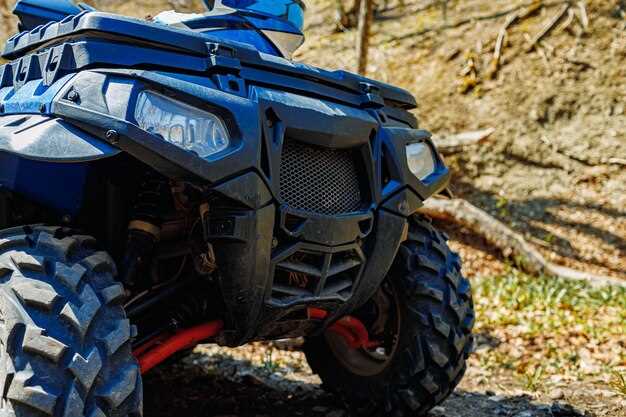
When venturing into the outdoors on your ATV, visibility is crucial for both safety and functionality. Adding auxiliary lights not only enhances your ability to see in low-light conditions but also increases your presence on the trails. Whether you’re riding at night or navigating through dense forests, the right LED lights can make a significant difference. In this guide, we’ll cover the essential steps for installing auxiliary lighting, including choosing the right lights and the necessary wiring adjustments.
Before diving into the installation process, it’s important to understand the various types of lights available in the market. Options range from floodlights, which provide a wide beam for illuminating larger areas, to spotlights that focus light on a specific target. Additionally, LED lights offer superior energy efficiency and longevity compared to traditional bulbs, making them the preferred choice for ATV enthusiasts.
Proper wiring is crucial for ensuring that your auxiliary lights function correctly and safely. This involves not only connecting the lights to your ATV’s power source but also considering the placement of switches and any necessary relays. Throughout this guide, we will provide you with step-by-step instructions to ensure a smooth installation process that maximizes both performance and safety.
Selecting the Right LED Lights for Your ATV
When it comes to enhancing visibility and safety during your off-road adventures, choosing the right LED lights for your ATV is crucial. The first step is to determine the type of lights that suit your needs. Options include spotlights for focused illumination or floodlights for broader, wider coverage. Each type serves different purposes, so consider your typical riding environments.
Next, evaluate the brightness of the lights. The brightness is typically measured in lumens; higher lumen ratings indicate more intense light output. For night riding or low-light conditions, look for lights with at least 2,000 lumens. However, balance brightness with energy consumption to ensure that your ATV’s electrical system can handle the additional load.
Wiring is another important aspect. Ensure that the LED lights you select come with comprehensive wiring kits or are compatible with your existing setup. Check for the necessary components such as relays, fuses, and switches to facilitate an efficient installation. Compatibility with your ATV’s electrical system is vital to avoid potential issues.
Durability should not be overlooked; choose lights constructed with high-quality materials designed to withstand harsh outdoor conditions. Look for lights with an IP rating to guarantee resistance against water and dust, ensuring longevity and reliability. Additionally, consider the mounting options available: adjustable mounts allow you to direct light exactly where you need it.
Finally, pay attention to the color temperature of the LED lights. Lights with a color temperature around 5,000 to 6,000 Kelvin produce a bright white light that enhances visibility without causing eye strain. This can be crucial for prolonged use during nighttime rides.
By considering these factors, you can effectively select the right LED lights that will enhance your ATV experience while ensuring safety and performance.
Wiring Harness Options and Installation Tips
When installing auxiliary lighting on your ATV, choosing the right wiring harness is crucial for optimal functionality and safety. Several options are available depending on your lighting needs and ATV model.
1. Pre-made Wiring Harnesses: These are designed specifically for ATV installations and often come with connectors tailored for common off-road LED lights. Using a pre-made harness simplifies the installation process, as it usually includes comprehensive instructions and necessary connectors, reducing errors in wiring.
2. Custom Wiring Harnesses: For unique setups or if you’re using lights that don’t fit standard configurations, creating a custom wiring harness may be necessary. This involves selecting appropriate gauge wires, connectors, and ensuring everything is weather-resistant. Pay close attention to the compatibility of your selected LED lights to avoid overheating or power loss.
Installation Tips:
1. Secure Connections: Ensure all connections are tight and well-insulated with electrical tape or heat-shrink tubing. This prevents corrosion and maintains a reliable electrical flow.
2. Fuse Protection: Always incorporate a fuse into your harness to protect your ATV’s electrical system from short circuits. Choose a fuse that matches the power requirements of your lights.
3. Routing Wires: Route wiring along the frame of the ATV, avoiding sharp edges and moving parts. Use zip ties to secure the wires, ensuring they are kept tidy and out of harm’s way.
4. Test Before Finalizing: After installation, test the lights before securing all components. Check for proper functionality and adjust as needed to ensure the lights shine effectively in your desired direction.
By selecting the appropriate wiring harness and following these installation tips, you can enhance both the visibility and safety of your ATV adventures.
Testing and Adjusting Your New Lights for Optimal Performance
Once you have installed the lights and connected the wiring through the harness, it is essential to test their performance. Begin the testing process by ensuring that all connections are secure and that the circuit is complete. Turn on the lights and check whether they illuminate as expected. If there are any issues, inspect the wiring to identify loose or damaged connections.
Next, focus on adjusting the light angle for maximum visibility. Position your ATV on a flat surface and mark a baseline reference point on the ground. With someone assisting you, turn on the lights and project the beam onto the surface. Ideally, the pattern should be even and well-distributed without any glaring spots. Adjust the angle of the lights as necessary to fine-tune their direction.
Additionally, consider the intensity of the lights. If your lights have adjustable brightness, test different settings to determine which provides optimal visibility based on your riding conditions. Assess their performance during both daytime and nighttime rides to ensure you have adequate lighting when needed. This adjustment process will enhance your safety while ensuring that you make the most of your auxiliary lighting system.
Finally, don’t forget to double-check the wiring after the adjustments. Ensure that no wires are pinched or exposed, as this could lead to damage or malfunction. Once satisfied with the setup, secure all components properly before heading out on your next adventure.


