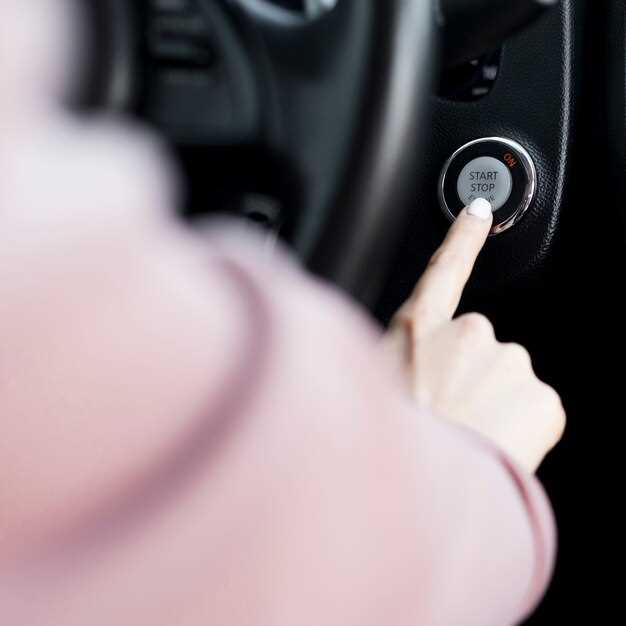
In the world of automotive maintenance, understanding the intricacies of your vehicle’s electrical systems is crucial. One significant component that often requires attention is the ignition switch. This seemingly simple device plays a vital role in starting your engine and powering various electrical functions of the car. When a fault occurs, it can lead to frustrating scenarios such as intermittent starting issues or a complete electrical system failure.
Recognizing the symptoms of a malfunctioning ignition switch is the first step in effective troubleshooting. Common signs include difficulty turning the key, engine not starting, and failure of dashboard lights or accessories. Each of these symptoms points to potential faults within the ignition system, making it essential for car owners to be familiar with common diagnostic procedures.
In this guide, we will delve into the troubleshooting process for ignition switch problems, equipping you with the knowledge to diagnose faults accurately. Additionally, we’ll provide step-by-step instructions on how to replace a faulty ignition switch, ensuring your vehicle runs smoothly. Whether you’re a seasoned mechanic or a DIY automotive enthusiast, understanding these elements will empower you to tackle any ignition-related issues with confidence.
Identifying Common Symptoms of Ignition Switch Failure
The ignition switch is a critical component in starting your vehicle. When it begins to fail, various symptoms may arise, indicating an underlying electrical fault. Recognizing these signs early can help you address the issue before it becomes a more serious problem.
- Difficulty Starting the Engine: If you turn the key and hear nothing or only a click, it may suggest a malfunctioning ignition switch, preventing the electrical system from activating the starter.
- Intermittent Electrical Issues: Inconsistent power to dashboard lights, radio, or other electrical components often points to a faulty ignition switch, disrupting the flow of electricity.
- Engine Stalling: If the engine unexpectedly stalls while driving, this may be due to the ignition switch losing contact, which can stop electrical signals to the ignition system.
- Key Won’t Turn: A stuck key can indicate wear or damage in the ignition switch, making it difficult for the ignition system to receive power.
- Inability to Remove the Key: If the key cannot be removed when the vehicle is in the “off” position, this might suggest a fault within the ignition switch itself.
- Warning Lights on Dashboard: An illuminated battery or check engine light may arise from issues related to the ignition switch, indicating a problem with the electrical system.
In summary, recognizing these common symptoms can aid in identifying potential ignition switch failures. Addressing these issues promptly can help ensure the reliability and safety of your vehicle.
Step-by-Step Process for Testing Ignition Switch Electrical Faults

Begin by ensuring safety: disconnect the vehicle battery to prevent accidental short circuits while testing the ignition switch.
Next, locate the ignition switch. This is usually found on the steering column or dashboard, depending on the vehicle make and model. Refer to the owner’s manual if necessary.
Using a multimeter, set it to the “Ohms” setting to measure resistance. Identify the terminals on the ignition switch. Typically, there are several terminals corresponding to different switch positions, such as Off, Run, and Start.
Connect the multimeter leads to the ignition switch terminals based on the specific configuration. In the “Off” position, continuity tests should show no electrical flow. Turn the key to the “Run” position and check for continuity between designated terminals.
For the “Start” position, test the appropriate terminals again. You should observe a change in continuity indicating that the switch is functioning correctly. If there is no continuity in any position, the ignition switch is likely faulty.
If continuity is confirmed in the ignition switch, inspect the wiring harness for any signs of damage or corrosion that may cause electrical faults. Ensure all connections are clean and secure.
If the ignition switch tests positively but the vehicle still does not start, further investigation into related components, such as the starter or battery, may be necessary. Reconnect the battery once testing and repairs are complete.
How to Properly Replace Your Ignition Switch

Replacing an ignition switch can resolve issues related to starting your vehicle, particularly when facing faults in the electrical system. Follow these steps to ensure a proper replacement.
First, gather the necessary tools: a screwdriver set, a wire cutter, and a multimeter. Begin by disconnecting the battery cables, starting with the negative cable to prevent any electrical shorts while you work on the ignition switch.
Next, remove the steering column cover to gain access to the ignition switch. This typically involves unscrewing several screws securing the cover in place. After removal, locate the ignition switch which is usually mounted on the steering column.
Disconnect the wiring harness attached to the old ignition switch. Make sure to note the arrangement of the wires or take a photo for reference during installation. Utilize the multimeter to test for any faulty connections or damage in the wiring before proceeding.
Once the old ignition switch is disconnected, carefully install the new switch into the steering column. Ensure it fits snugly in its designated position. Reconnect the wiring harness exactly as it was previously arranged.
After the ignition switch is securely installed, replace the steering column cover. Tighten all screws to prevent any loose parts while driving.
Reconnect the battery cables, starting with the positive cable followed by the negative cable. Turn the key to the ignition position to check if the new switch functions properly. If all electrical connections are intact and the vehicle starts, the replacement is successful.
For safety, if you encounter any issues during installation or the new switch does not resolve your initial problems, consult a professional mechanic to ensure all components are functioning correctly.


