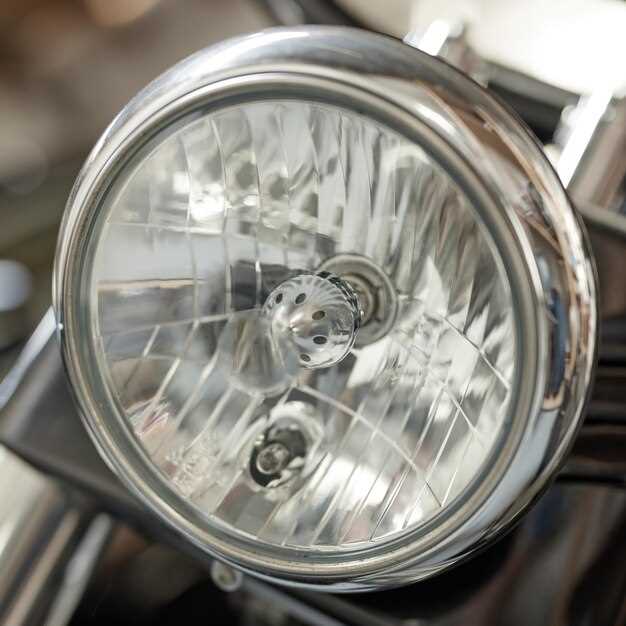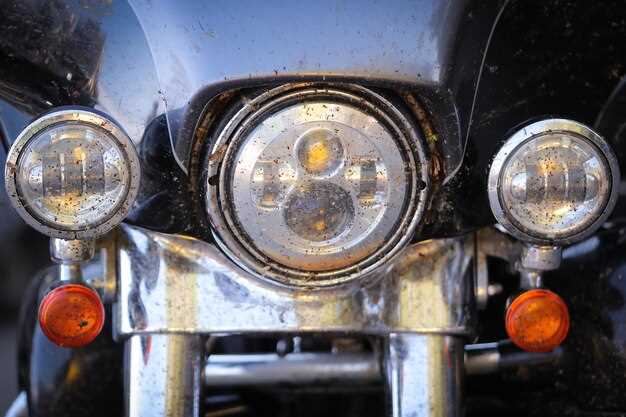
Maintaining optimal visibility on the road is essential for every motorcycle rider, and one of the key components in achieving this is ensuring that your headlights are functioning properly. Over time, motorcycle headlights can dim or burn out due to prolonged use, necessitating a replacement. Understanding how to effectively change your motorcycle’s lights is an important skill that can enhance your safety and riding experience.
Before diving into the replacement process, it’s crucial to familiarize yourself with the various types of bulbs available for your motorcycle model. Different motorcycles may require specific bulb types, including halogen or LED options. Being well-informed about your motorcycle’s lighting system can help you select the right bulb and ensure that the replacement lasts as long as possible.
The process of replacing motorcycle headlights and bulbs may initially seem daunting, but with a few basic tools and a clear understanding of the steps involved, it can be accomplished with relative ease. This guide will walk you through the essential steps to safely and effectively replace your motorcycle’s headlights, ensuring you stay visible and safe on your rides.
Identifying the Right Replacement Bulb for Your Motorcycle

When it comes to maintaining your motorcycle, ensuring that the lights are functioning properly is crucial for safety and visibility. Replacing a bulb can be a straightforward process, but first, you need to identify the correct replacement bulb for your specific model. This involves several key steps.
Start by consulting your motorcycle’s owner manual. It usually contains important specifications regarding the type of bulbs used for headlights and other lights. Look for information related to the wattage and bulb type, which often includes designations like H4, H7, or others.
If the manual is unavailable, you can also check the existing bulb. Remove it carefully and inspect any markings. The numbers or letters embossed on the base will typically indicate the bulb type. Pay special attention to the bulb shape and size, as these factors are critical for proper fitment.
In addition to size and type, consider the light output or brightness level you desire. Different bulbs may produce varying lumens, affecting visibility during nighttime rides. Upgrading to a higher lumen bulb can enhance your riding experience, but ensure that it is compatible with your motorcycle’s electrical system.
Lastly, when purchasing a new bulb, choose a reputable brand. Quality bulbs often provide better performance, longevity, and reliability over cheaper alternatives. This ensures that your motorcycle’s lights function effectively and keep you safe on the road.
Step-by-Step Guide to Removing and Installing Headlight Assemblies

Replacing the headlight assemblies on your motorcycle is a straightforward process that enhances visibility and ensures safety. Follow these steps to remove and install the headlights effectively.
Step 1: Prepare Your Motorcycle
Begin by ensuring the motorcycle is on a stable, level surface. Turn off the ignition and disconnect the battery to prevent any electrical issues during the replacement process. Make sure you have the necessary tools on hand, such as a screwdriver, socket set, and potentially a motorcycle service manual for reference.
Step 2: Remove the Headlight Assembly
Locate the headlight assembly on your motorcycle. Depending on the model, you may need to remove fairings or a windshield for better access. Use a screwdriver or socket to remove the screws or bolts securing the headlight assembly in place. Gently pull the assembly away from the mounting bracket. Be cautious not to damage any connecting wires during this process.
Step 3: Disconnect the Wiring Harness
Once you have removed the assembly, locate the wiring harness connected to the back of the headlight. Carefully disconnect the harness by pulling on the connector, ensuring not to tug on the wires themselves. Take note of how the wiring is configured, as this will assist in reconnecting it later.
Step 4: Install New Headlight Bulbs (if applicable)
If you are replacing the bulbs, now is the time to do so. Open the back cover of the headlight assembly and remove the old bulbs. Insert the new bulbs carefully, ensuring they are securely locked in place. Replace any covers or sealing gaskets to maintain weather resistance.
Step 5: Reconnect the Wiring Harness
Reconnect the wiring harness to the new headlight assembly. Ensure the connector clicks into place to secure a solid connection. Double-check that all wires are positioned correctly and free from any pinch points that could cause damage when reassembling.
Step 6: Reattach the Headlight Assembly
Position the new headlight assembly into the mounting bracket and align it with the screw holes. Carefully secure it in place by tightening the screws or bolts you removed earlier. Ensure the assembly is stable and will not move during operation.
Step 7: Test the Lights
Before putting everything back together, connect the battery and turn on the ignition. Test the motorcycle lights to ensure everything is functioning correctly. Check both low and high beams to confirm that the new bulbs are working as expected.
Step 8: Complete the Installation
If everything is working properly, reattach any fairings or additional components you removed for access. Ensure all screws are tightened firmly and that your motorcycle is ready for the road.
This step-by-step guide provides a clear path for replacing motorcycle headlight assemblies. Regular maintenance and timely replacement of lights can enhance safety and improve visibility during nighttime rides.
Troubleshooting Common Issues After Bulb Replacement
After completing the motorcycle headlight bulb replacement, you may encounter several common issues that can affect the functionality of your new bulb. It’s crucial to troubleshoot these problems to ensure your safety on the road. Here are some potential issues and solutions.
One common issue is the bulb not lighting up at all. This can occur due to incorrect installation or a poor connection. Double-check that the bulb is securely seated in its socket and that any clips or fasteners are properly engaging. If the bulb is correctly installed but still not working, inspect the wiring and connectors for damage or corrosion, which may hinder electrical flow.
If the new bulb is flickering or dim, it could indicate a problem with the electrical system. Start by examining the headlight’s wiring harness for frayed wires or loose connections. Additionally, ensure that the motorcycle’s battery is fully charged and in good condition since a weak battery can lead to insufficient power for the bulb.
In cases where the replacement bulb is burning out quickly, it may reflect a voltage issue. Use a multimeter to measure the voltage at the headlight socket. A voltage level above the manufacturer’s specified range can lead to premature bulb failure. If you find an overvoltage situation, consider consulting a mechanic to address any underlying electrical problems.
Lastly, if your motorcycle’s headlight is misaligned after replacing the bulb, this can diminish visibility and create hazards. Aligning the headlight typically involves adjusting the aim according to your motorcycle’s specifications. Refer to the owner’s manual for the correct procedure to ensure proper light distribution.
By addressing these issues promptly, you can maximize the efficiency of your motorcycle’s headlight and ensure optimal safety while riding.


